Titanium Mobile で、透過 PNG のボタン画像 ( イメージボタン ) を使うサンプルです。
▲ ボタンを押した時の画像も準備します。
サンプルコード
———————————————————————-
コードは次のような感じです。
var win = Ti.UI.createWindow({
title:’ボタンテスト’,
backgroundColor:’#f00′
});
var TestButton = Ti.UI.createButton({
backgroundImage:’btn_test.png’,
backgroundSelectedImage:’btn_test_o.png’,
top:10,
left:10,
height:60,
width:300
});
win.add(TestButton);
win.open();
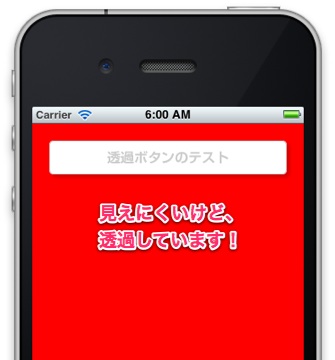
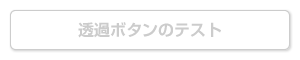
配置した画像は、次の二点です。

▲ ボタンを押す前。
▲ ボタンを押した時。
分かった事
———————————————————————-
– [ backgroundSelectedImage ] を指定しなくても押すと薄暗くなる処理が入った。
– Retina ディスプレイ対応は、長さが倍の画像を作ってサイズ指定で半分にする。
参考にさせてもらったページ
———————————————————————-
– [Button – titanium-mobile-doc-ja – UIカタログ(コントロール) – Button – Appcelerator Titanium Mobileに関するドキュメントを日本語でまとめていくプロジェクト – Google Project Hosting](http://code.google.com/p/titanium-mobile-doc-ja/wiki/Button)
– [Titaniumのボタン画像で透過PNGを使う方法。 – 葛城の日記](http://d.hatena.ne.jp/katsuraghi/20110302/1299021760)
ありがとうございます!